Feature
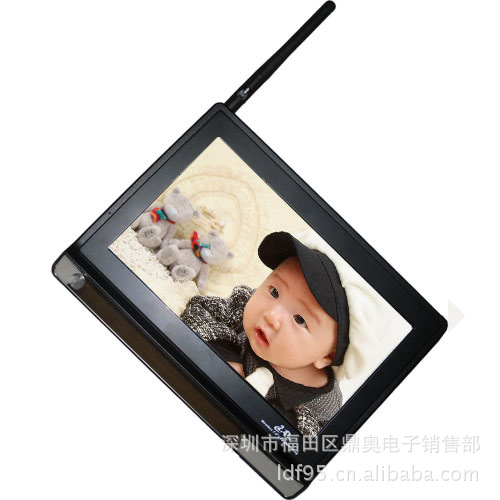
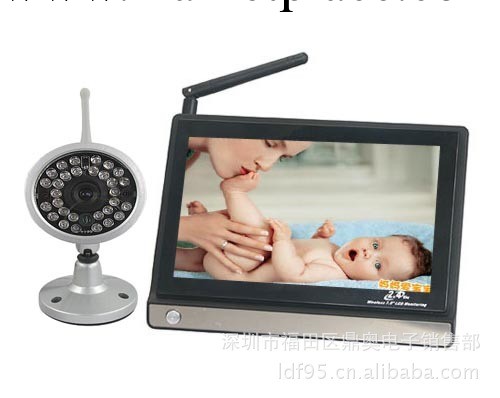
1、2.4GHz Wireless 7.0” LCD monitor with remote control
2、380TV lines clear picture display
3、Built-in IR lights for night vision range
4、Weather-proof design for outdoor usage
5、4-channel available to avoid interference
6、Built-in microphone for audio monitoring
7、Min. 100m transmission distance without blocks
8、Channel scan and channel skip for multi-camera usage.
Operation Introduction
1、Open the packaging box, take out the receiver, adjust the support post behind the receiver to a proper position, and put the receiver unit stably. Then install the antenna correctly.
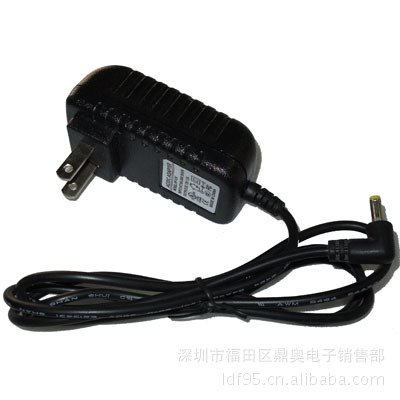
2、Power the machine unit: Connect the input terminal of the receiver power adapter to AC 110~220V, other terminal to DC IN socket of the receiver. Slip the power switch to on position, then the red power LED lights, the receiver starts up.
3、Power on the camera: connect the camera power adapter with camera, and put it on the correct position. Note: metal shield will loss the signal.
4、Channel selection: press the channel selection key, and the LED display will show the number from 1 to 4, the number means the relevant channel. As selec the correct frequency channel, the screen will display the relative signal from the camera, also can adjust the frequency channel by the remote control.
5、Cycle frequency initialization: press the channel selection key for 3 seconds, the LED will display the number from 1 to 4 in rurn, and every number will keep 5 seconds, it is fit for more cameras working in the same time. Also can initialize the function by the remote control.
6、Receive more clear video: Trying to adjust antenna direction can get more clear video.
7、Adjust voice volume and video brightness on the relative side knob.
8、Video and audio output: Connect the A/V cable to show the video and audio
9、Video and audio input: press the channel selection key for a while will turn off the wireless receiving function and the LED only displays a red dot, at this condition, can connect the A/V cable with A/V source for monitor using.
9、Earphone hole belong the side of the receiver is used for external earphone.
Basic specification for 7" TFT LCD
Transmission frequency | ISM 2.400MHz ~ 2.485MHz |
Modulation Mode | FM |
Antenna Type | Camera Omni; Receiver; Directional |
transmission distance | Min. 100m transmission distance without blocks |
Antenna Port | 50ohm SMA |
Receiving Sensitivity | ≤-85dBm |
Vided output level | 1Vp-p@75ohm |
Audio Output level | 1Vp-p@600ohm |
Operating Temperature | -10℃ ~ +50℃ / +14 ~ +122F |
Storage Temperature | -20℃ ~ +60℃ / -4 ~ +140F |
Operating Humidity | 85%RH |
Screen Size | 7.0 inch |
Power Supply | DC12V 1.5A |
Dimensions (W*D*H) | 190*140*20mm |
Weight | 425g |
Technical specification for wireless camera
Model | 802C |
Image Sensor | 1/3” OmniVision CMOS |
TV System | PAL/NTSC |
Validity Pixel | PAL: 628×582 NTSC: 510×492 |
Horizontal Definition | 380Line |
Scan Frequency | PAL/CCIR: 50Hz NTSC/EIA: 60Hz |
Angular Field of View | 45° (f=6mm) |
Minimum Illumination | 0Lux |
Input Power | 27dBm |
Output Frequency | 2.4GHz (2.414GHz、2.432GHz、2.450GHz、2.468GHz) |
Frequency Control | Adapt to MPU and phase locked loop to control frequency exactly, which possesses high stability. |
Transmitting Signal | Ideo & Audio |
Open transmission Distance | 100M |
Infrared Distance | 10~15M |
Power | DC12V/500mA |
Current | 350mA |
Power Consumption: | ≤4W |
Working Temperature: | -10~+50℃ |
Size | 68×52×105 mm |
Weight: | 230g |
1 x Mini wireless cameras
1 x Camera power adapters
1 x 7.0” LCD Monitor
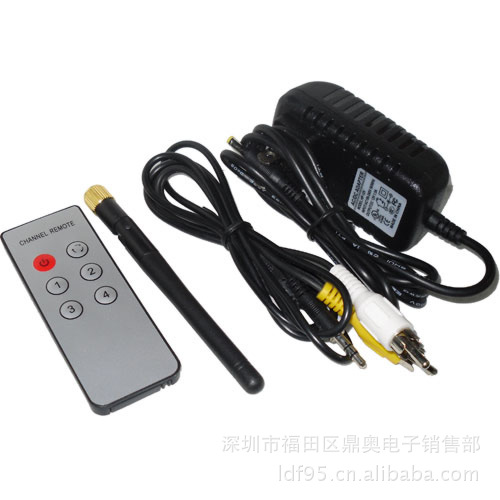
1 x Monitor Adapter
1 x A/V line
1 x Remote
1 x Manual


