


|
Warning: Read and understand all instructions in this manual. Use appropriate personal safety equipment including hearing and eye protections when using the scanner in or near the vehicle engine compartment. Failure to comply may result in accidents involving fire, electrical shock, or serious personal injury.
Electrical
l Do not allow anything to rest on the cable assembly. Do not allow the cable assembly to be pinched. Keep the cable assembly away from contact with heat, oil, sharp edges, or mobbing parts. replac damaged cables immediately. Damaged cables increase the risk of electrical shock.
l Do not disassemble the scanner, to reduce risk of electrical shock. There are no user repairable components inside the unit.
l Please dispose of used batteries properly. Do not incinerate batteries. Consult your local waste authority for information regarding available recycling and/or disposal options.
Use and Care
l Stay alert, pay attention to what you are doing, and use common sense when operating the scanner. Several functions require the engine to be running during testing. Children and visitors need keep a safe distance from the work area.
l Keep the scanner dry, clean, and free from oil and grease. Use a mild detergent on a clean cloth to wipe the dirt off, when necessary.
l only use accessories recommended by Xtooltech.
Service
Service must only be performed by Xtooltech repair personnel. Service or repair by unqualified personnel may result in injury, damage to the unit, and may void your warranty. Refer to the Product warranty Policy section of this manual.
|
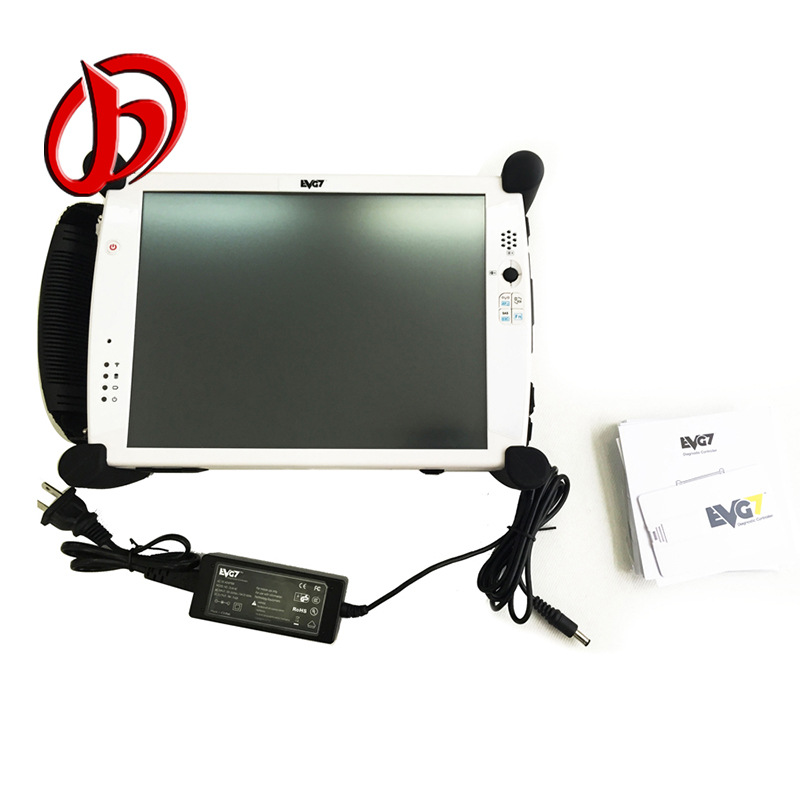
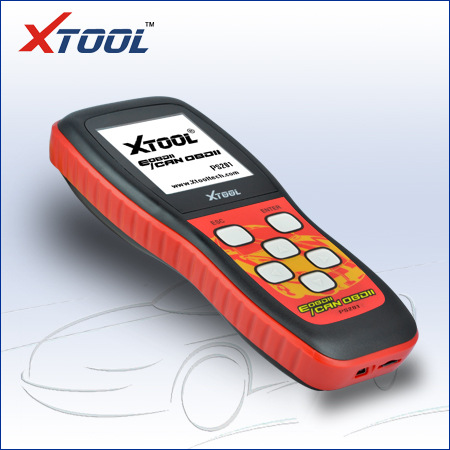
Appearance and Key Descriptions
- LCD screen: 160*160
- [ENTER] button: confirm a selecion of a menu list
- [ESC] button: retune to the previous screen
- [Up]/[Down] button: move the cursor up or down
- [Left]/[Right] button: turn pages
Feature
l Class 4 - Class 8 truck coverage featuring "Automatic Protocol Search".
l HD J1587 / J1708 and J1939 CAN, Engine, Transmission/ABS coverage and more!
l Live vehicle data such as:
- Engine speed
- Engine ECU temperature
- Percent acceleration pedal position
- Engine intercooler temperature
- Engine coolant temperature
- Battery volts
- Alternator volts
- Ambient air temperature
- Air inlet temperature
l General Features (Including Global OBD II coverage):
- Read and clear diagnostic trouble codes
- Global OBD II - All 9 Modes.
- Fast Global OBD II Quick Test
l Gasoline and diesel engine coverage.
Support multiple Global OBD II trouble code requests, generic codes (mode 3), pending codes (mode 7), enhanced codes, and GM DTC status.
l On-screen definitions of diagnostic trouble codes.
l Set measurement units in SAE English/Metric.
l Internet upgradable.
Application
l Passenger cars, and commercial vehicles
l Tow trucks, recreational vehicles, cement trucks, dump trucks, garbage trucks, buses, step vans, municipal vehicles, refrigerated trucks, and conventional trucks
l Heavy-Duty Standard compliant construction, marine, agriculture, and other industrial diesel power plant configurations
l ISO 14230, ISO 15765, SAE J1850, SAE J1939, SAE J1708/J1587
The purpose of this manual is to guide you in successfully using the scanner. This is not a repair manual for your vehicle. For specific information on troubleshooting issues with your vehicle, please refer to the owner’s manual or various other repair manuals.
|
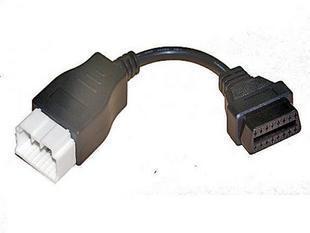
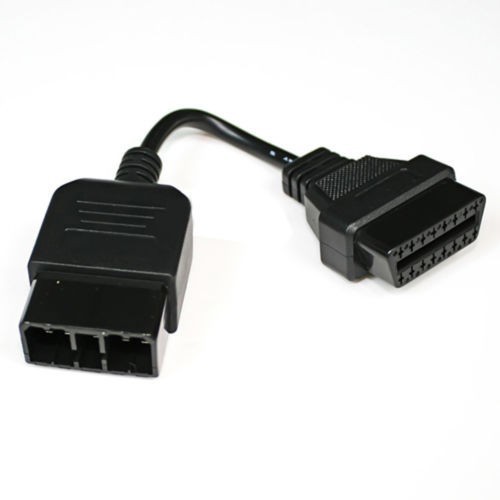
- 1. Connect the scanner to your vehicle: PS201 communicates with the computer in your vehicle through a special connection. One end of the cable plug into the connector on the top of PS201 and the other end to the adaptor, which plug into the diagnostic socket on your vehicle.
² Each vehicle manufacturer has its own specific diagnostic socket location.
² Make sure that all pins are straight and the connecting surfaces are free from oils, grease and moisture.
² Push the PS201 diagnostic adaptor into the vehicle diagnostic socket firmly.
² Connect the PS201 cable to the socket on the top of the tool.
CAUTION: The PS201 work in 11V~28V voltage, please make sure the diagnostic socket on your vehicle export 11V~28V voltage.
- 2. Set up: Turn the vehicle ignition key to ON or start the engine, then the PS201 will automatically start.
[Diagnose]: State diagnosis
[Language]: selec language
[Contrast]: Contrast level modification
[Display Test]: LCD display test
[Keypad Test]: Key test
[Information]: Show firmware information
[EN/Metric]: selec English or Metric units
[Font]: Adjust font size
[Data Logging]: Switch on/off the Data Logging function
[Self Test]: Use the Self Test Connector to test this tool is OK or not
- 3. Operation: Use [Up]/[Down] button and [ENTER] button to selec setting tool or diagnosing vehicles.
- 4. After use: Use [ESC] button to back the main menu, and disconnect from the vehicle.
|
selec Menu: selec [Diagnose] and press [ENTER] button, PS201 includes two categories of software:
- OBD II: ISO 14230, ISO15765, SAE J1850
- HD OBD II: SAE J1939 CAN, SAE J1708/J587
Caution:
l Make sure the vehicle is connected. Make sure the connectors are firmly connected.
l Keep the vehicle ignition key ON or the engine running.
l about the vehicle connection:
² On light duty vehicles, it is with an OBD 16Pin connector, selec OBD II.
² On medium duty vehicles, it is with an OBD 16Pin connector, selec OBD II.
² On heavy duty vehicles:
² On vehicles with a OBD-16 pin connector, selec between J1708/J1587 or J1939 protocol.
² On vehicles with a 9 pin connector, selec between J1708/J1587 or J1939 protocol.
² On vehicles with a 6 pin connector, only support J1708/J1587 protocol.
² On vehicles with an 8 pin connector, only support J1708/J1587 protocol.
² On vehicles with an R-16 pin connector, only support J1939 protocol.
|
l selec [HD OBD II], press [ENTER] button.
l Use [Up]/[Down] button to selec function, and press [ENTER] button.
- 1. Read DTC
- The [Read DTC] function read Fault Code from the vehicle's computer modules; include current codes and history codes.
- If there is no Fault Code, the screen will prompt “No codes in the vehicle!”
- If there is any Fault Code, view the number of Fault Code, then press [ENTER] button, view the description of the Fault Code.
- If the description is more then one screen, press the [Down] button to view the additional content.
- To view the next Fault Code, press the [ENTER] button.
- The first line of the description shows the numeric representation of the Fault Code.
² The first word and the second word indentify the component type and the number (MID/PID/SID for J1708/J1587 or SPN for J1939).
² The third number indentifies the Fault Mode Indicator (FMI).
² The last number indentifies the number of this fault code and all fault codes.
- The last line of description shows number of times of the Fault Code appeared.
- 2. Clear DTC
- The [Clear DTC] function clear Fault Code from the vehicle's computer modules, include current codes and history codes.
- A message will prompt to ask if you want to clear Fault Code.
- once the codes are clear, the “Clear DTC successful!” screen will display.
- 3. Read Data
- The [Read Data] function read the vehicles status and the sensors data.
- Live data are listed on the display.
- If the data is not supported, it will show “Not support”.
- Press [Up] or [Down] button to view the previous data entry or the next data entry, press [Left] or [Right] button to view the next page.
|
l selec [OBD II], press [ENTER] button.
l Use [Up]/[Down] button to selec function, and press [ENTER] button.
- 1. Trouble Codes
- The [Trouble Codes] function read diagnose trouble codes from the vehicle's computer modules; include two types of codes: Malfunction Indicator Lamp (MIL) codes and pending codes.
- MIL Codes: These codes cause the computer to illuminate the MIL when an emission related or drivability fault occurs. The MIL is also known as the “Service Engine Soon” or “Check Engine Lamp”. MIL codes remain in the vehicle’s memory until the fault is repaired.
- Pending Codes: These codes are also referred as “continuous monitor” and “maturing codes”. An intermittent fault will cause the computer to store a code in memory. If the fault does not occur within 40 warm-up cycles, the code will be cleared from memory. If the fault is occurred a specific number of times, the code will mature into a DTC and the MIL will turn on.
- Operation is just like the [Read DTC] in [HD OBD II].
- 2. Erase Codes
- The [Erase Codes] function erases Fault Code from the vehicle's computer.
- Operation is just like the [Clear DTC] in [HD OBD II].
- 3. Live Data
- The [Live Data] function read the live data of vehicle status and sensors data.
- Operation is just like the [Read Data] in [HD OBD II].
- 4. Freeze frame
- 5. I/M Status
- The [Live Data] function read the live data of I/M status.
- Operation is just like the [Read Data] of [HD OBD II].
- 6. Vehicle Info
- The [Vehicle Info] function retrieves the information of the vehicles.
- If the vehicle does not support this function, a message will prompt “Not supported!"
- 7. Oxygen Sensor
- 8. Mode 6 Test
|
What to do if PS201 is failed to connect:
Make sure the vehicle ignition key is in the ON position.
Make sure the diagnose connector is clean.
Make sure the cable connectors are pushed in firmly.
Make sure the pins in the connectors are not bent and are making contact.
Try wigging the connector during the attempted read.
How to reset PS201:
Pull the connector and the cable from the diagnose interface on your vehicle.
NOTE: If the problem persists please contact Xtooltech technical support.
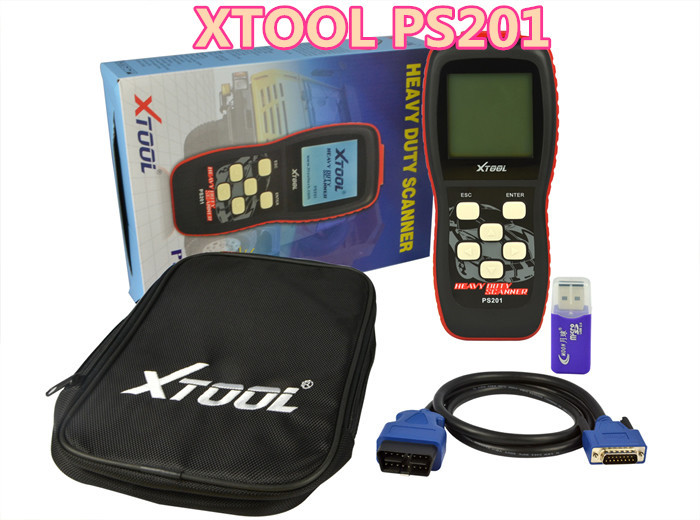
Product Info
The PS-201 HEAVY DUTY CAN OBDII Code Reader is the best solution for diagnose All 1996 and Newer OBD II/EOBD/CANBUS Compliant gasoline Vehicles, as well as diesel OBD vehicles, provides car owners and DIYers easy and quick access to Diagnostic all OBD II compliant vehicles sold worldwide since 1996. Though small in size, it is powerful enough to retrieve the same information as expensive workshop level scanners.
Product Attribute
l Natural Ergonomic comfort Curve design * Easy-to-read large mono-color screen * Easy-to-operate large buttons
Product Parameters
Display: Backlit, 160 x 160 pixel mono-color screen with contrast adjustment Operation Temperature: 0 ~ 50°C (32~122F°) Storage Temperature: -20 ~ 70°C (-4~158F°) Relative Humidity: < 90% External Power: 8~18 Volts via DLC Power Consumption: 3W Mainframe Dimension: 225mm(L) x 98mm(W) x 36mm(H) Exterior Memory: TF Card
![ps201[1]_副本](http://i04.c.aliimg.com/img/ibank/2014/871/616/1315616178_1758990770.jpg)
批發市場僅提供代購諮詢服務,商品內容為廠商自行維護,若有發現不實、不合適或不正確內容,再請告知我們,查實即會請廠商修改或立即下架,謝謝。